It's Missy here with another Cricut Craft Room tutorial. Today's tutorial is pretty basic, but I'm a teacher, so I know sometimes it is good to review the basics!
So now that you've learned how to do some fancy-schmancy welding and such for your projects, of course you want to save them, so you dont' lose your work. One thing that is nice about he Craft Room software is that it's pretty intuitive---it "imitates" other programs that we're familiar with, like MS Word and such.
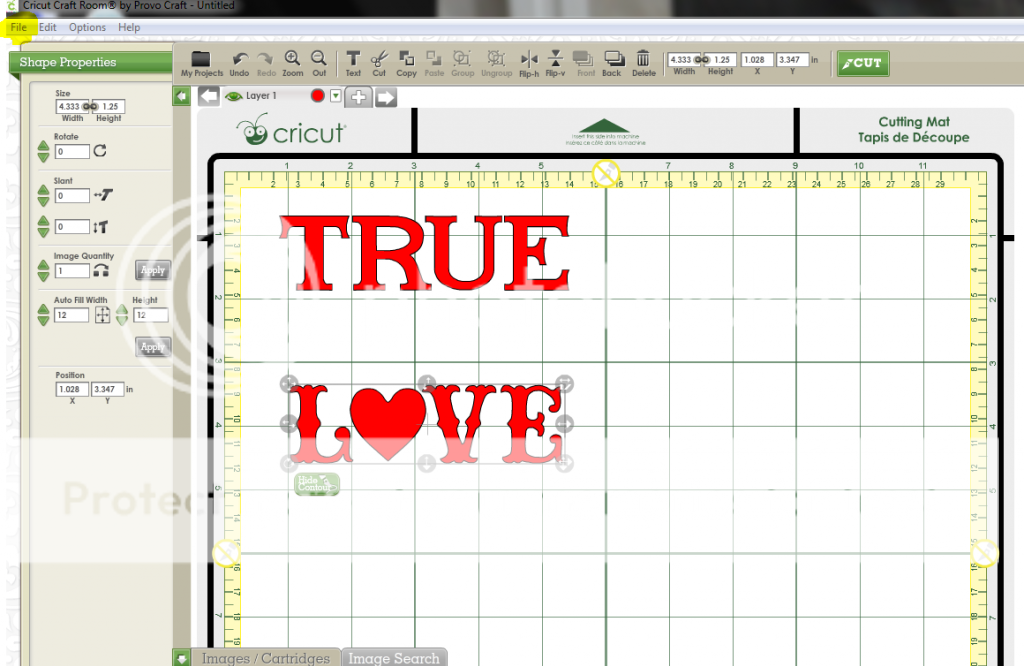
When you reach a point in the creative process where you would like to save, simply click on the "File" option in the upper left hand corner.
After you've clicked on "File", select "Save As", just like you would in MS Word. A box that looks like this will appear. You'll want to type the name of your project in the box.
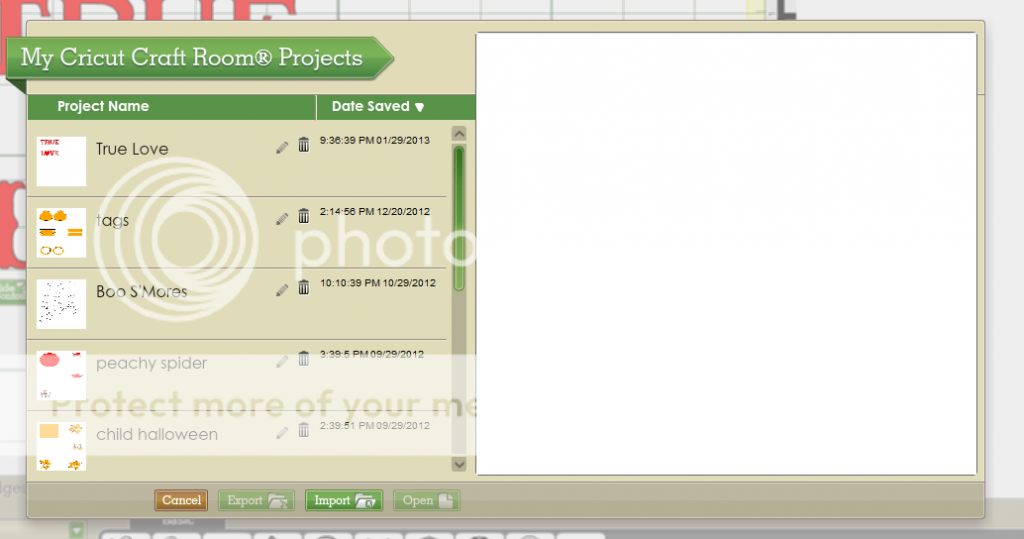
After you name your project, select Save. Once you've done this, your project will be saved in your project library, which looks like this.
You'll find that your projects are organized by date. By default they are organized from newest to oldest. However, next do the word "Date Saved", there's a little white arrow. If you would rather have them saved from oldest to newest, click this arrow and it will reverse the order.
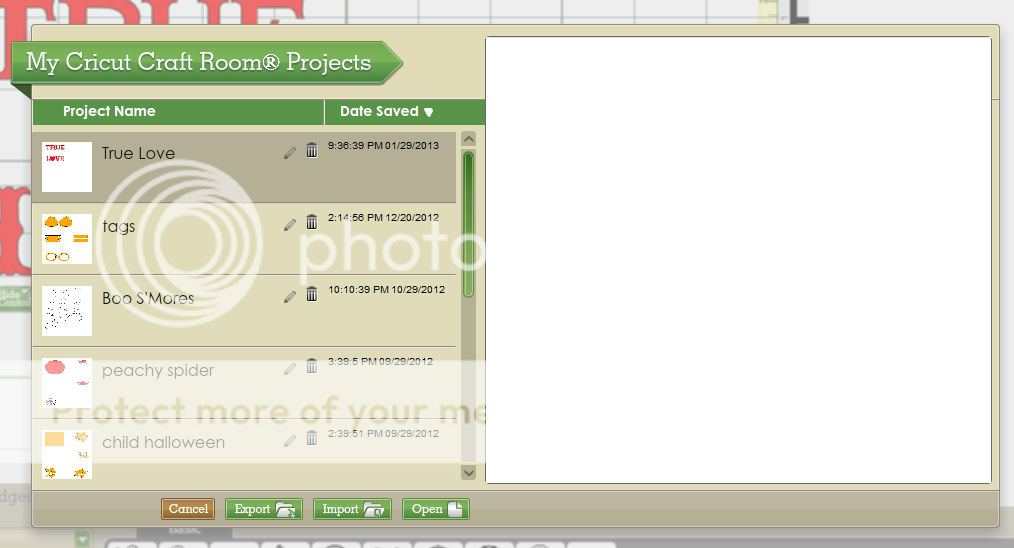
To open a file, simply select "File" in the top tool bar. Then select "Open". When you choose open, your project library will open up once again, and you can scroll through your projects. When you select a project, the project will appear grey and the green "Open" button on the lower right will appear. To open the project, simply click the green "open" button.
For those of you who use your gypsy, it is possible to import files from your gypsy to your CCR program. First you have to save your gypsy files to a file on your computer. Then, you would select the "Import" option that appears in your project library. When you click import, you should be taken to your computer folders, in which you can find your gypsy files and open them up.
Thanks for stopping by today, I'll be back next week with another Craft Room tutorial!!!


great tutorial Missy!
ReplyDeletethanks for the lesson. do you have any other ccr lessons that have previously been posted. I am new to your blog...thanks Beth
ReplyDeleteFYI - When I save my files I also insert the cartridge name next to it. By doing this I know what cartridge I need in order to cut.
ReplyDeleteExample - Love heart doodlecharms
janislu@msn.com